The world is going mobile, and so is Avaza Expenses. The team at Avaza has been hard at work developing a new mobile expense management app. The new app, called “Avaza Expenses” is released on both Google Play & Apple App Stores. Here is the direct link for each
Once you install & launch the app you will be taken to the Login page. Enter your login credentials (the same details you use to access Avaza on the web browser) and grant the requested rights to the application. You are all set to start creating expenses and gaining useful insights.
Here is a list of some high-level features.
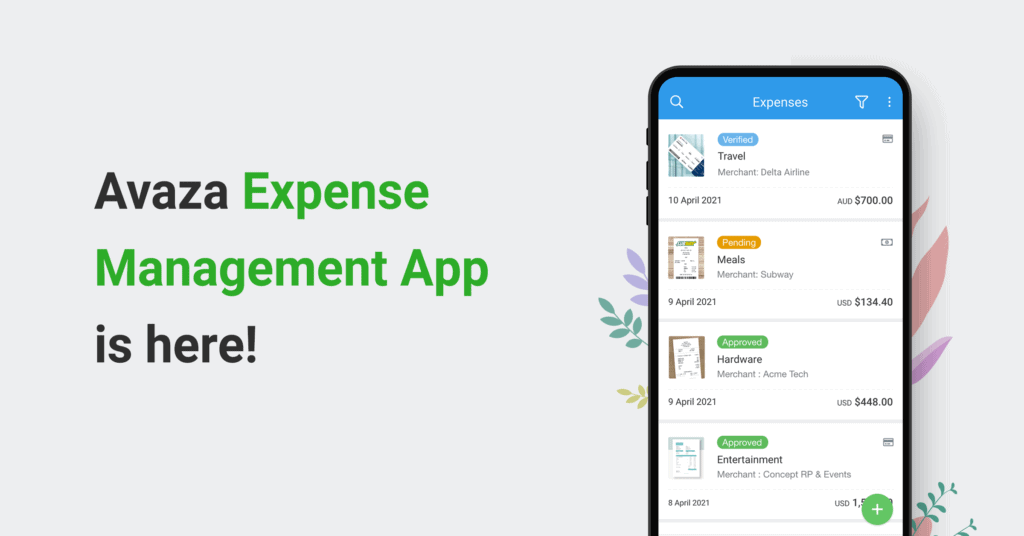
Beautiful Expense List
Figure - Expense List
The expense list is carefully designed to display important information in an aesthetically pleasing way. Tap the image to see a larger preview right from the expense list. Smoothly scroll through the list and find the details you are after.
Figure: Expense List Search & Filter
Search: Enter the Merchant name or Expense Category in the search box to quickly filter the list for those expenses.
Sorting: Sort the expense list by either
Expense Date
Date Updated (handy to see the expenses edited recently at top of the list)
Filtering: Filter the list by a range of fields
Expense Date From & To fields
Expense Category
Approval Status
Billable Status
Customer
With all these options you will find what you’re looking for fast.
Multiple ways to create expenses
You can create expenses by clicking the green plus (+) icon. You will be presented with 3 options
Add Expense – takes you to the create expense page
Camera – Opens the camera so you can take the photo and continue creating the expense with the photo attached to the expense
Attachment – Select from existing photos or documents on your phone and continue creating the expense with the selected file attached to the expense
Figure: Multiple ways to create an expense
Regardless of which method you choose, filling in the expense details is easy. Smart defaults, simple taps and custom keyboard for entering amount makes it fast to create a new expense.
All New Expense Details View
To view the expense details, tap an expense record from the list. The expense details page will display all details related to that expense in a structured manner. Relevant actions such as editing, deleting etc will be available at the bottom of the page. The user can tap the image to see a larger preview or download the original file.
Figure: Expense Details View
Submit Expenses for Approval
You can submit expenses for approval in multiple ways.
Tap “Submit for Approval” for a particular Verified expense from the Expense Details page.
To submit all verified expenses for approval, tap “Submit All for Approval” from the 3 dot control on the Expense List page.
To submit a few selected expenses for approval, tap “Select Multiple Expenses” from the 3 dot control on the Expense List page, select the required expenses and then tap “Submit for Approval” at the bottom of the page.
Figure: Submit Expenses for Approval
Expense Dashboard
See where you are spending money for a given date range. View breakdown of expenses by Category, Merchant, Customer, Project and more with just a tap.
Figure - Expense Dashboard
Please feel free to send us your feedback via chat support or email.